Gift Guide: 5 Easy DIY Jewelry Packaging Ideas For Any Occasion
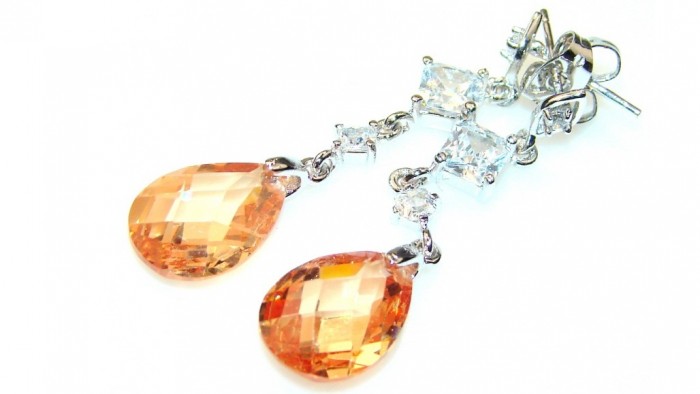
When you give someone a spectacular gift such as a piece of jewelry or a full set, the packaging can be more than just a simple box and ribbon if you put your mind to it and let the creative energy flow. Taking time to create a DIY jewelry packaging shows off your innovative side and make your gift a bit more special by personalizing it with your style or as something that you know the gift receiver will enjoy. Get inspired with these five easy DIY jewelry packaging ideas for any occasion.
Decorate your own wrapping paper
Instead of going out to purchase wrapping paper or using only the Sunday newspaper comics to decorate a gift box, create your own wrapping paper. If you do not have time to create your own paper, simply use paints or markers to decorate wrapping paper by first wrapping it with plain white wrapping paper or newspaper and paint or draw on it. Especially if the jewelry is a gift from a family or child if it is Mother/Father’s day or a relative’s birthday, decorating wrapping paper is a quick, easy, and fun activity for children too. Consider using sponges or cookie cutters to making decorating easier and faster instead of trying to do it freehand.
Want to take an eco-friendly step to gift giving by re-using all of those brown shopping bags you receive when grocery shopping? Turn a bag inside out or cut it accordingly to the size of the jewelry box. After you wrap the gift, paint it or cut a shape in a potato and use it as a paint sponge or a stencil to decorate the brown bag.
Wrapping paper with seeds
Take packaging jewelry a step further by making your own wrapping paper with seeds so that the paper can be planted afterwards as an additional gift and as a way to give back to the Earth. Especially if you know someone’s favorite flower or herb, decorating their gift with a wrapping paper with seeds adds something out of the ordinary to the gift. If you are giving someone a piece of jewelry with their birthstone, why not include seeds from the flower for their birth month?
To begin to create your own paper, gather different types of paper whether it is construction, copy, newspaper, or something else. Select the paper based on what color or mixture of colors you wish to create. (Just be sure not use anything with a high shine like magazines or coupons) Next, cut the paper into tiny pieces and place them in the blender with water to mix it to a pulp. Layer the pulp in an even layer on the thin mesh screen to dry so that blended pulp has been binded together and top it off with the plant seeds. If you don’t have a mesh screen, you can create one using craft sticks, glue, black electrical tape, scissors, and a window screen or cheesecloth that is 12×12”.
Wrap it up with a scarf
What better way to wrap up a jewelry set than with a scarf as an additional gift? Simply follow these steps to use a scarf as a way to package a set of jewelry:
- Lay a square scarf out flat on a table.Extra DIY Tip: Cut an old shirt or sheet that is solid or patterned (plaid, paisley) to make your own scarf.
- Place the jewelry (or box containing the jewelry if you are afraid it might still slip out) in the center of the scarf.
- Holding one corner of the square, pick up the corner on the opposite side.
- Tie the corners in tight yet fairly loose knot so it can be pulled a part with ease.
- Repeat steps 3 and 4 with the other corners but on top of the previous knot.
- Top it off with a ribbon and additional decoration such as a pin, flower, etc.
Create a jewelry display
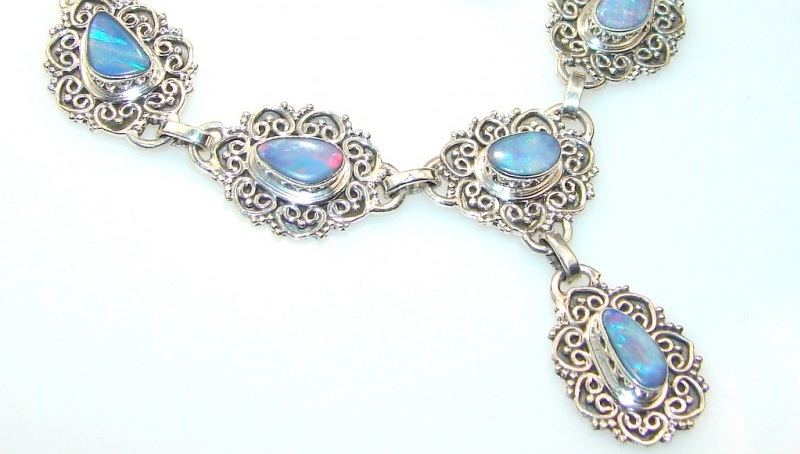
Instead of placing the jewelry in a package and wrapping it up, think outside of the box with a couple of different jewelry display suggestions. One idea is to present a jewelry set similar to the way that you would display it at a store. However, you can create your own way to display a jewelry gift for someone with a DIY twist.
For example, one quick project is to reuse or purchase an old photo frame from a thrift shop as a display board by simply gluing it to a cork board and adding pins or hooks to the board to hang the jewelry. You can put a fabric over the cork board with a fun design or paint it a different color from bold and bright to chic and neutral colors.
Easily display rings and bracelets with a hand mold with a couple of ingredients including:
- 1 kg of Plaster
- Thick and heavy rubber gloves
- A timber that is measured 20 x 30 cm
- 1 glass
- 1 pencil
After the hand mold has dried, you can leave it as the original color or paint it however you want.
Do you have some extra drift wood from an old camping trip? Purchase antique doorknobs to drill into the wood (that is, it’s stable enough and not too old to hold up under pressure from the drill) to hang a display of necklaces on a wall.
Create an earring travel book
Know someone who loves both earrings and traveling? Wrap up their gift in a DIY travel set and to make it better, create a carrying case that is designed to have pages so that it looks like a book or passport. For this project you will need felt (two or more different colors so that the cover and pages are different), card board, hot glue, twine or string, a needle and a hole puncher.
- Cut the cardboard to a designed length such as 3 x 6 inches or smaller.The cover should be about 6 x 12 inches long or so to cover the front and back.
- Lay the cover cardboard flat and in the middle, fold it twice so that it creates a book binder that is 1 inch in width.Hot glue the border line of the full piece of cover cardboard including the board of the binder.
- Lay the felt (which should be cut to the same length) over the cardboard and press so that it stays and leave it to dry.
- Hot glue the felt to the remaining book pages/cardboard and let dry.
- Once the felt has dried to the cardboard, put three holes with the puncher into the binder and on one side of the pages.Be sure that the three holes match up exactly.
- Loop the twine or string through the holes.
- Tightly knot the pages to the binder.
- Punch the individual pages with the needle to create holes to place the earrings through the pages securely.
If you wish, you can also opt out of the twine and cardboard to simply hot glue the pages together to create the travel earring book.
Hopefully these jewelry packaging ideas will help you give the perfect gift to someone in one of the most creative ways possible. Do you have any other creative ways to present jewelry or another gift to someone?
You may also like ...
- Thoughtful Gifts For Your Girlfriend: The First Anniversary
- Stay Stylish As You Travel: Jewelry Packing Tips
- Just How Well Will A Jewelry Cleaning Recipe Work? The Best Methods To Try To Clean Gems At Home
- How Does A Gemstone Appraisal Work?
- The Most Valuable Gemstones You Never Knew Existed
- 10 tips how NOT to take care of silver jewelry

